Showing posts with label Own Designs. Show all posts

Friday 9 December 2016

A Fun Sketching Exercise To Turn Into A Habit For 2017

One thing that I've been really working on this year is developing my own art. I have a few goals with my artwork, such as to improve my sketching, to build up a portfolio of motifs and designs and to develop my own signature style. Do you recognise some or all of these goals as ones that you hold dear too?

If you do recognise these goals then I have a fun exercise to share that you might find helpful if you haven't already got it as part of your art habit or ritual and that is the 'Rapid-Fire Multi-Drawing Exercise'. OK, so I'm rubbish at coming up with names. Let me explain!


The Rapid-Fire Multi-Drawing Exercise

Actually let's just do it now! Grab a piece of A4 (8.5" x 11") paper or better still a sketch book and a pen or pencil, now draw 30 different mushrooms, but don't take too much time thinking about each one, do one, move on.

They do not have to be beautifully rendered or amazingly life-like, but each one does have to be different.

Go on, I can wait for 5-10 minutes, I'm not going anywhere!
...
...
...

OK, how did that go for you? Don't worry, some people will find it really easy and some people will find it really difficult and that is OK.


Why This Exercise?

Before I started as a full-time freelancing artist, crafter and blogger, would you believe that I taught creativity as part of entrepreneurship programmes for scientists and engineers at university? I know, it seems like another lifetime ago and I haven't really talked about it much here on my blog. It was during this time that I finally realised that I LOVED creativity, new ideas and just plain creating, but anyway that might be another story for a different blog post.

One of the exercises I would run in my classes was a very similar exercise designed to warm the class up, get them thinking and innovating. I've adapted the exercise a little for artists, so we are working on trying to come up with different ways to communicate an item such as a mushroom, a leaf, a robot etc. through drawing it in various forms. It is not a new exercise and I'm not claiming to have invented it but I really think it is a worthwhile one to add to your artist routine.

Drawing a lot of items quickly is a great way to train the hand-eye coordination and so improve your drawing skills. It will also help you to find a unique language to communicate your ideas to the viewer; hopefully through this you will start to see what styles and looks appeal to you and so help you to develop your unique style.


Another great benefit is that this type of exercise bypasses the more analytical parts of the brain. The point is to get a lot of ideas down quickly and not to judge those ideas, that comes later. The more forms of the subject you can get onto paper the more you can work through the rubbish, same old, same old ones and develop those special, only you can come up with ones. And a happy offshoot of this is that it helps you to build up a portfolio of motifs you can refer to and build upon in the future.


What Next?

Now look back at the page, or pages, you have just filled with mushroom designs and sketches. Are there any that you are particularly fond of, that just jump out at you? If there are then circle them. If there aren't, don't worry, this happens too and it might mean that you need to do another 20 now that you have the rubbish ones out of your system or it might mean that mushrooms just aren't your bag. Don't overthink it!

You can do one of two things now. If you are really in the mood work up your favourite mushroom designs/sketches into a new piece of artwork. Or file the paper/sketchbook away for now and refer to it again when you are looking for some mushroom inspiration.


Make A Commitment

As with all walks of life, practice improves everything, so if you are committed to improving your drawing skills, expanding your motif repertoire, building your artistic confidence and developing your style then promise me – no, scratch that, promise yourself – that you will come back to this exercise tomorrow and do 30 different robots, or 30 different flowers, or 30 different... well you get the idea. Hey, do 50, I ain't gonna stop you!

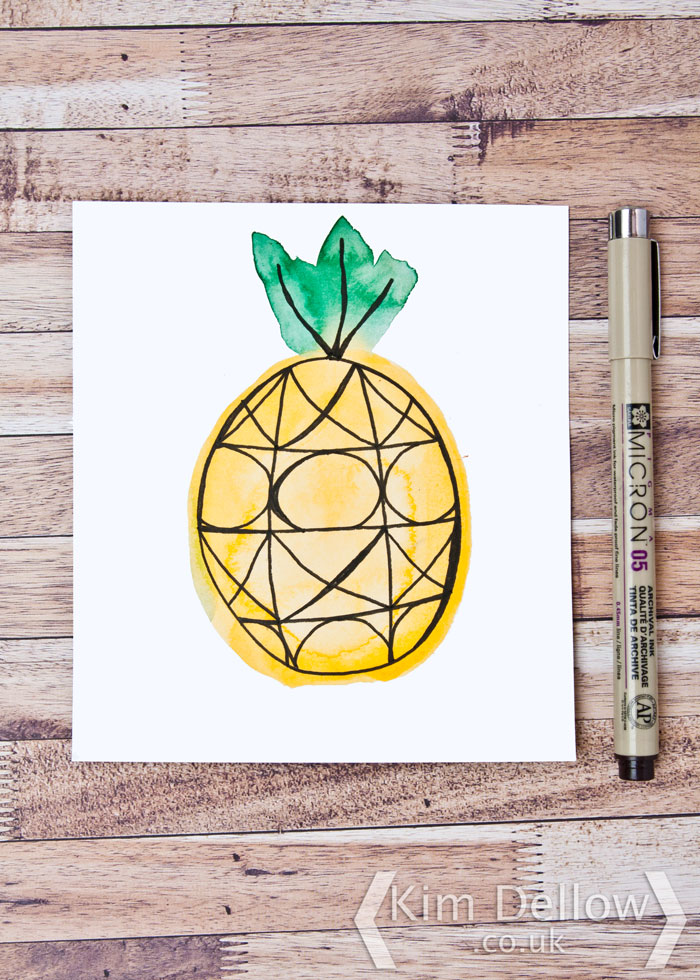
Oh and some of my regular readers may remember the two early sketches I did when I started my Art Slice Video series back in the Summer, you can see them above or catch the videos on my YouTube channel: 'Tribal Pattern Pineapple with watercolour and pen' and 'Watercolour Watermelon'. Both these projects came out of this very exercise.

Have fun with it and feel free to share any Rapid-Fire Multi-Drawing Exercise pictures that you do with me on Instagram, tag me so that I can see them! Boy, there must be a better name for this exercise than that?

UPDATE: If you want to join in and share the results we are using the hashtag #DellowDailyDrawing over on Instagram. See you there!

Kim


Come And Connect With Me:

YouTube

Instagram

My Shop

Join My Newsletter!

Facebook

Pinterest

Twitter

Friday 6 February 2015

Craft Stamper Magazine And Free Stamp

It is Friday...I've got two articles made and ready to post off to my editors...the weekend is stretched out in front of us...I've got a day of fun arting planned with my cousin this weekend...lots of reasons to be cheerful.

But wait a minute, it is FRIDAY, that means Craft Stamper is out in the newsagents with my free retro camera stamp on the front cover...Yay!

I made some samples for the magazine showcasing different ways to use the stamp, using it on scrapbook pages, cards and album covers. But here is a bonus make for my blog readers and you know I've been a bit watercolour obsessed, well here is how the stamp looks on a watercolour background.

Single Layer Handmade card with watercolour and Retro Camera Stamp from Kim Dellow

I've added some texture with salt to the watercolour washes and the sentiment is brush written. If you are connected to my Instagram account you will have seen me practising.

Handmade Greeting card using Watercolour and stamping

I wrote 'Smile' so many times that I started to think I was spelling it wrong.

If you get the magazine I hope you enjoy your new stamp and do come back with links to anything you make using it, I would love to see.

Right, got to go parcel up some article makes.

See you later Stampinators.

Kim

Monday 2 February 2015

Retro Camera Stamp For Craft Stamper

Retro camera stamping fans you might want to keep your eye out for March issue of Craft Stamper...

Craft Stamper Magazine March Issue Free Stamp Designed by Kim Dellow

Hold on a minute...what is that? Is that my name? Yep! I designed the free cover stamp for Craft Stamper this month! No way? Way!

I might be a bit excited about having one of my designs made into physical form, what a rush.

The magazine hits the shelves on Friday 6th February 2015.

Hope that you like it and I would love to see what you do with it so do come back and put a link in the comments so I can take a look!

Catch you later Stampinators!

Kim


Monday 16 July 2012

Travel Sketching Saturday

What? No La-La Land Crafts Monday Inspiration post today? No, but if you drop by tomorrow I'm sure you will see some La-La Land Crafts! Well actually I know you will! The CHA in the USA starts tomorrow and I've been busy making samples.  So my samples are there even if I'm not!

But you haven't dropped by my blog for nothing, I have a personal project to share with you today some more of my sketching. I shared one of my little sketches that I had made into a card not so long ago. So here is another, this time a travel sketch from my smash / notebook.


We went up to visit my parents this weekend and the train trip meant I had some time to do some sketching practice. I always try to travel with something to sketch with, so me and my ZIG Memory System Writer pen are inseparable and for colour I took along some Derwent Graphitint pencils and my ZIG Water BrusH2O - another must have in my pencil case. 

We had a lovely trip and it was great to spend some time with my parents. Hope you had a lovely weekend and got some artiness fitted in too!

So now you are refreshed after the weekend and ready for a creative week?

Catch you later.
Kim


Thursday 14 June 2012

All In The Illustration

I love experimenting as you know and I love trying my hand to different things, again this won't be too much of a shock to those of you who regularly pop by my blog. 

Well today I have one of my own illustrations to show. I've been doing a lot of work with watercolours and I just love how watercolour effects look with a clean black line so I thought I would try making a little birthday card using this look.


The watercolours I've used are the ZIG Art and Graphic twin Pens and the illustration and sentiment were drawn with the ZIG Writer pen.


I applied the colour with the ZIG Water Colour system WaterbrusH20 which is a valved waterbrush and I would not be without them!

Hope you like the look.

Catch you later chicks!
Kim


Friday 27 March 2009

Rumble In The Jungle

Been playing about with my punches. To be precise I've been making background papers using the positive and negatives from a leaf punch as a stencil. What do you think? I thought this worked quite well with this fab digital stamp from Louise Bridgen's Holly and Madison's World Tour set at Charmed Crafts.

Told you I was getting into the digi-stamps at the moment :)

The image has been printed on transparency and card and coloured with pencils on the card and pens on the transparency.

Thought it was a bit of fun and of course I will be entering into the challenge over at Crafty Goings on, I mean who wouldn't with a 72 Copic pen prize :) Oh Boy, Oh Boy, Oh Boy!


Materials:
Stamp - Charmed Crafts Holly and Madison
Colouring - PrismaColor pencils; Caran d'Ache pencils; Derwent Pencils; Sansodor; Letroset promarkers; Copic Ciao (Yep - pretty much everything except watercolours!)
Usual Suspects - Paper Trimmer; Silicone glue; Double-sided tape
Other - Animal brad HOTP; Hemp string; Printable transparency; Woodware large leaf punch; VersaColor bamboo ink;

Friday 19 September 2008

Christening Card

It is my OH's nephew's Christening this weekend and I've been racking my brain for the card all this week. This is what I finally went for, perhaps inspired by my wedding card earlier this week :)


Materials:
Papers - Kaboodle Doodle Blossom Berry Bright
Image - doodled by me
Colouring - watercolour pencils
Other - Shades of purple cardstock

Monday 18 August 2008

Initially.....

A card for the Funky Fairy Challenge which this fortnight is all about initials. A friend's young son is having a his birthday at the end of this month and his name begins with 'A' so:


Edit:
Ooops - I've just re-read the Funky Fairy challenge blog rules and there is a new one that you have to use something from Funky Fairy's in your design. Teach me to not to take more notice! I just saw the challenge and got on with it! Won't do that again!

Materials:
Image - Made by me
Papers - Made by me also!
Card - white cardstock

Saturday 17 May 2008

Making my own background papers

I love all the wonderful background papers that you can buy. There are some beautiful works of art in paper that I often find them hard to cut up, I'm sure you know what I mean? But I also love making my own background paper. This was one of those 'I wonder what would happen if I....' occasions and I was really pleased with the result and plan to use it again to make some more.


Found it quite hard to get a good piccy of it though, as a number of the pictures I took did not capture the gold shimmer.

So the background starts by cutting out photocopied snippets from my large Oxford Dictionary of quotations and layering them onto a piece of white A4 paper at different angles, holding in place with a dab of glue stick. The next stage is to photocopy this collage of words and quotes onto ordinary white A4 paper. I cut the background into the shape I wanted and then started to colour with distress ink pads brayered onto a craft mat, sprayed with water and then brayered onto the paper, keeping the darker inks to the edges. Allow this to dry a bit before spraying with a gold glimmer/mica spray. Allow to dry and then flatten under some books (or all your craft magazines).

Thought I might enter this for the challenge on the 'Lots to do Challenges blog' using Crafty Individual stamps.