If you are one of my regular readers then you might remember that I have recently moved house, so when the guys at the Self Storage company
Space Station Storage asked me if I would like to share a storage idea I thought 'what a good idea!' I mean storage is a bit of an ongoing project for me at the moment as we are still unpacking boxes. Ok so we moved in July last year but I don't think we will finish unpacking any time soon.
Here is one of my favourite storage tips that can work well for lots of areas in the house but is super perfect for my studio and seeing as I'm still not sure where everything is I do need to make some more of these!
Turn an uninteresting cutlery drainer into a pretty, sectioned storage basket. The great thing about this upcycle is you can theme it to fit any room in your house and store anything you need - even cutlery if you want!
You Will Need:
Cutlery drainer
Patterned paper
Glue (Mod Podge is perfect for this)
Brush
Spare card
Pencil
Step 1
Give the cutlery drainer a good clean to remove any dust and dirt then stand it on the card. Draw around each of the bottom sections and cut them out. Then place the cut outs into the bottom of each section and trim them to get a good fit. The cardboard covers up the draining holes and makes a flat floor for each section.
Step 2
Tear the patterned paper into strips and decide if you want the white paper core to show or not, both looks work well depending on what you want.
Brush glue over a section of the cutlery drainer and add the paper. Brush more glue over the top of the paper. Keep working in sections until both the inside and outside of the drainer is covered. Then let the whole thing dry.
There you have it, one very handy pen holder for my desk.
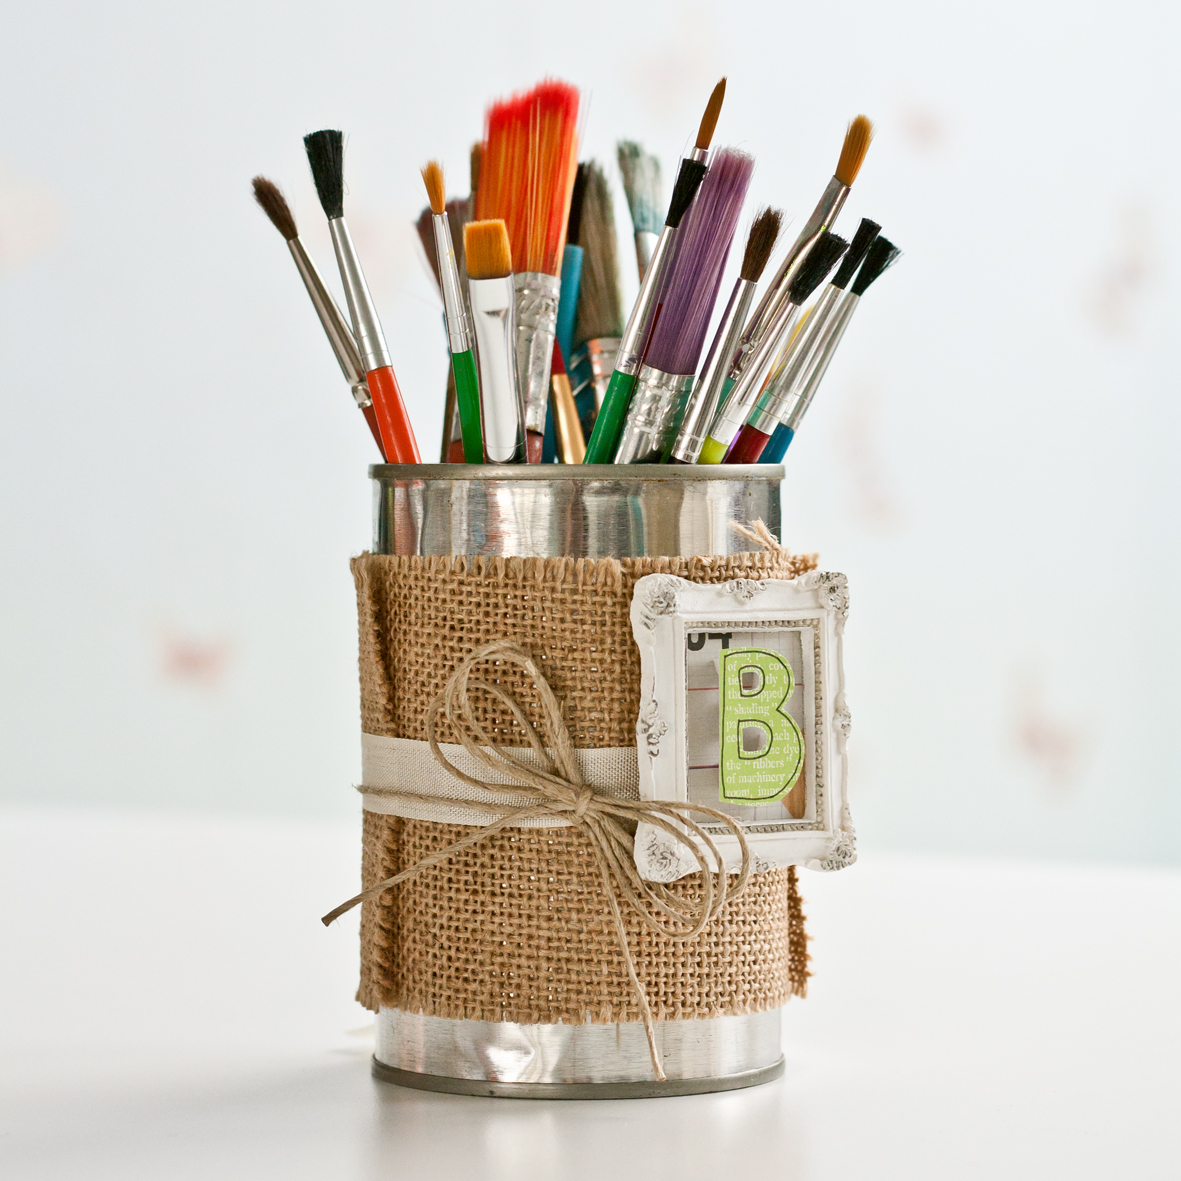
If you are looking for some more desk storage ideas then try this
upcycled tin can make over.

Thanks again to the guys of
Space Station Storage for the inspiration to share one of my favourite storage ideas.
I would love to hear your storage ideas, particularly if they are upcycle and recycle ideas, but really any of your storage ideas would be great I need them all! Do share in the comments below if you have any.
Catch you later storagators!
Kim


