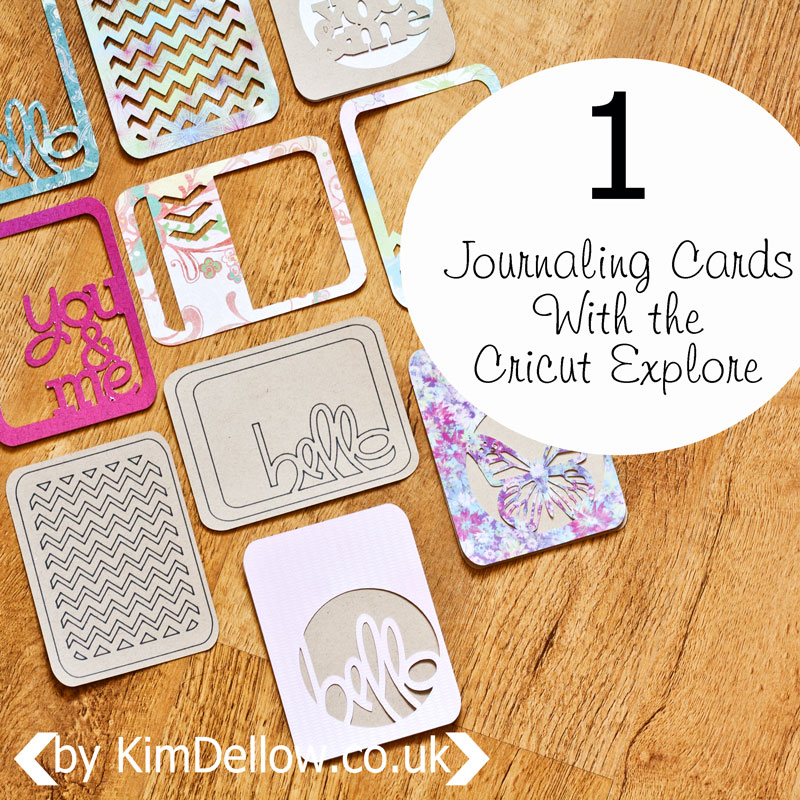
Welcome back to my DIY with the Cricut Explore series for this month where I share some tutorials for projects you can do with your Cricut Explore. If you haven't seen it already, check out my first instalment with the DIY Journaling Cards.
Today I thought I would share some tips for DIY stamps.
[There are some affiliate links in this blog post, so if you buy through them I do get a small amount of money at no extra cost to yourself. Thanks for your support!]
You Will Need:
Cricut Design Space
Cricut Deep Housing and Blade (optional)
Poster board / Art board
Pen / pencil
Scanner / photo-editing software
Glue
1. Start with a doodle! Doodle out some designs, use a black pen or start with a pencil then go over the lines with a pen. Then scan the picture and save it on your computer.
2. Use your photo editing software to crop the scan if you need to. It is better to work on one sketch at a time if you want them to be individual cutting files. I've used Adobe Photoshop Elements but there is plenty of free photo-editing software out there to use.
Once you have your image, save it and log in to the Cricut Design Space, pick 'Create New Project' and go to the 'Upload Image' option in the left-hand menu of the workspace. A window opens with two choices: pick the 'Basic Upload' option on the left then on the next page click the 'Continue to Step 1' button to get to your image upload page.
3. Use the 'Browse' button to find your saved file on your computer; once you have selected it, you will see it as a thumbnail on the left. I used a simple black and white image so picked the 'Simple Image' option, but make a judgement based on the type of picture you are using as to what level you are going to need. Then click the 'Continue to Step 2' for the next part.
4. Your image will open in the clean up window and you can now get rid of the areas you don't want in the image and remove any extra lines if you need to. Choose 'Select and Delete' if it isn't already selected and move your cursor over the unwanted areas, which are the white areas in my image, and click on them to remove them.
Don't forget all those little unwanted areas in the pattern. Use the zoom in and out if you have a problem seeing the little areas. You can also crop if you need to and use the erase option to remove sections. Once you are happy, use the preview to check that you haven't missed anything.
5. Then click 'Continue to Step 3' and you can now name and use keywords to tag your new image. Once you have saved your image, you can find it listed in the 'Upload Image' section, but you will also be able to search for it by name, keywords or the design number it has been given in the 'Insert Images' option too when you are logged into your account - pretty cool!
To insert your new image just click on it as you do with the other images.
OK, so you have your fabulous new images, so what about these stamps I mentioned at the start? To make my stamps I used craft foam (aka funky foam, or fun foam). Yes, the Cricut Explore can cut craft foam but I have a couple of tips to help you cut it.
6. I fiddled about a lot to get as smooth a cut as I could. If you have ever cut craft foam with an electronic cutting machine, then you will know that you normally have to tear the die-cut away from the excess foam as it doesn't cut all the way through and it can leave a jagged-looking edge. I don't have the Cricut Deep Cut Housing and Blade and I imagine that it might be easier to cut the foam with this. Do let me know if you have cut foam with the Deep Cut blade.
So my settings are for cutting craft foam using the standard blade and housing.
Tip - Try using a thinner foam, around 1mm thick, and if your foam is thicker then pass your funky foam through a manual die-cutting machine to compress it a bit. I did this and it worked a treat!
Send your image to the machine to cut by clicking the 'Go' button, work through the Mat Preview to the Cut Preview, load the mat with the foam attached and choose the 'Custom' option on the dial on the machine.
7. Click the 'Materials Settings' button and then 'Add Material' to set the pressure to around 330 using the slide bar and the Multicut to x4 from the drop-down window. Name the new material setting and save it then click 'Done' and cut as normal. Once the cutting is over, take the foam off the cutting mat and carefully peel the die-cut away from the excess foam as needed.
Tip - if the markings left by the rollers in the foam annoy you, turn the foam over and use the back of the die-cut.
8. Stick your new stamps to a piece of poster board or art board then ink them up and stamp, stamp, stamp!
If you could make any stamp you want, what would it be? Do let me know in the comments below.
Thanks for popping by.
Kim

Like this? You might also like:


Great tutorial Kim:-) x
ReplyDeleteThank you :) Glad you like it :)
DeleteOoh very interesting, thanks Kim!
ReplyDeleteLucy x
You are welcome Lucy :) Thanks :)
DeleteLove these.
ReplyDelete