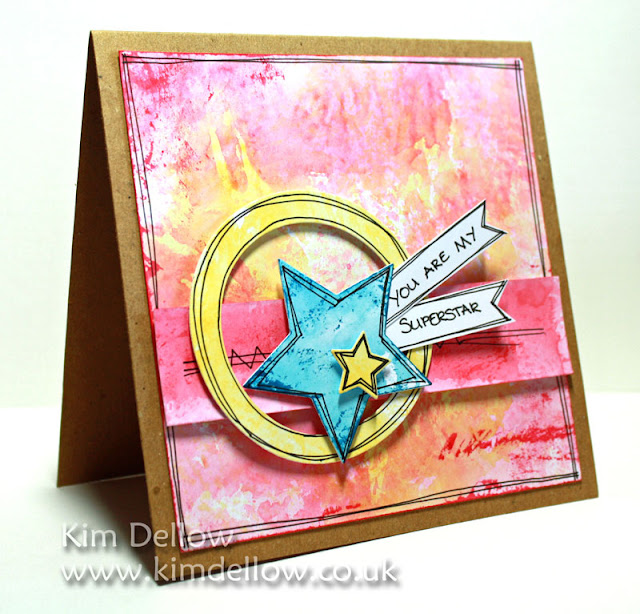
How about a little play with some Faber-Castell Design Memory Craft® products today? It's my first make with these products and as a member of the guest Design Team - so let's get stuck in shall we?!
My regular followers will have most likely seen some watercolour effect backgrounds on my blog from time to time as I do love making them! So I thought I
would give it a go with the Faber-Castell Design Memory Craft® Stamper’s Big Brush Pens. These pens are an
India ink pen and waterproof when dry but mix well with water when still wet.
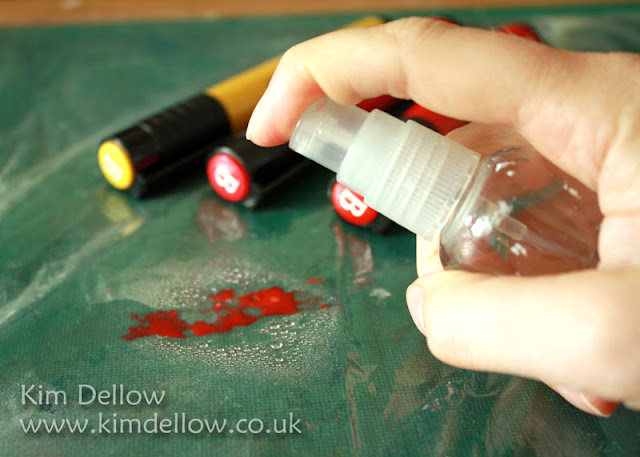
To make the background I started by scribbling the Dark
Naples Ochre 184 Stamper’s Big Brush Pens onto a plastic bag and spritzing with
water then pressing a piece of white card into the colour and lifting it off. I let
the colour dry before adding the next colour so that I don’t get a mixing of
the colours, they layer beautifully. The next colour I used was Pale Geranium
Lake 121 and the final colour was the Deep Scarlett Red 219.
I like using a plastic bag instead of a craft mat as it helps give extra texture when you press the card into the colour as the
plastic bag crinkles so easily and it also means you have another use for that
old packaging too!
To finish the background colour I scribbled the Deep
Scarlett Red 219 onto my plastic bag but this time instead of spritzing I quickly
dragged the edges of the background card through the scribbled colour and
lightly pressed the corners of the card into the scribbled pen to pick up the
colour. You can get quite an interesting, colourful, grungy texture with this
method, but you need to do it before the ink dries on the plastic.
That’s the background done, the shapes where made with the
same colouring method as the background this time using the Pale Geranium Lake
121 and Deep Scarlett Red 219 for the red strip, the Cobalt Turquoise 153 for
the blue star and the Dark Naples Ochre 184 for the dinky star. I die cut the
shapes then added a sketchy border for each of the pieces and wrote out the
sentiment with a black PITT® Artist Pen. Finally I stuck all the pieces to my
kraft card blank with double sided tape and 3D-foam.
Thanks for popping by and have a super creative day.
Kim


...great post Kim, these pens look super and lush colours too & nice that once dry they are waterproof...a loVely card showing these pens off effectively...Mel :)
ReplyDeleteGorgeous background - and great shots of the technique, thank you. The pens look amazing!
ReplyDeleteAlison x
What a fabulous background, a great technique and the colours are yummy.
ReplyDeletexxx Hazel.
Have never heard of these pens before but loving your gorgeous results. x
ReplyDeleteOoooh, lovin' the effect! Gorgeous background, yummy colours :) xx
ReplyDeleteOoooooh gorgeous colours and effects Kim. A fabulous card.
ReplyDeletehugs {brenda} xox