
How about another tutorial? This one has been up on the La-La Land Crafts blog for a couple of days but I thought I would share it here too in case you missed it. If you remember my card from Monday using the La-La Land Crafts Hot Air Balloon die
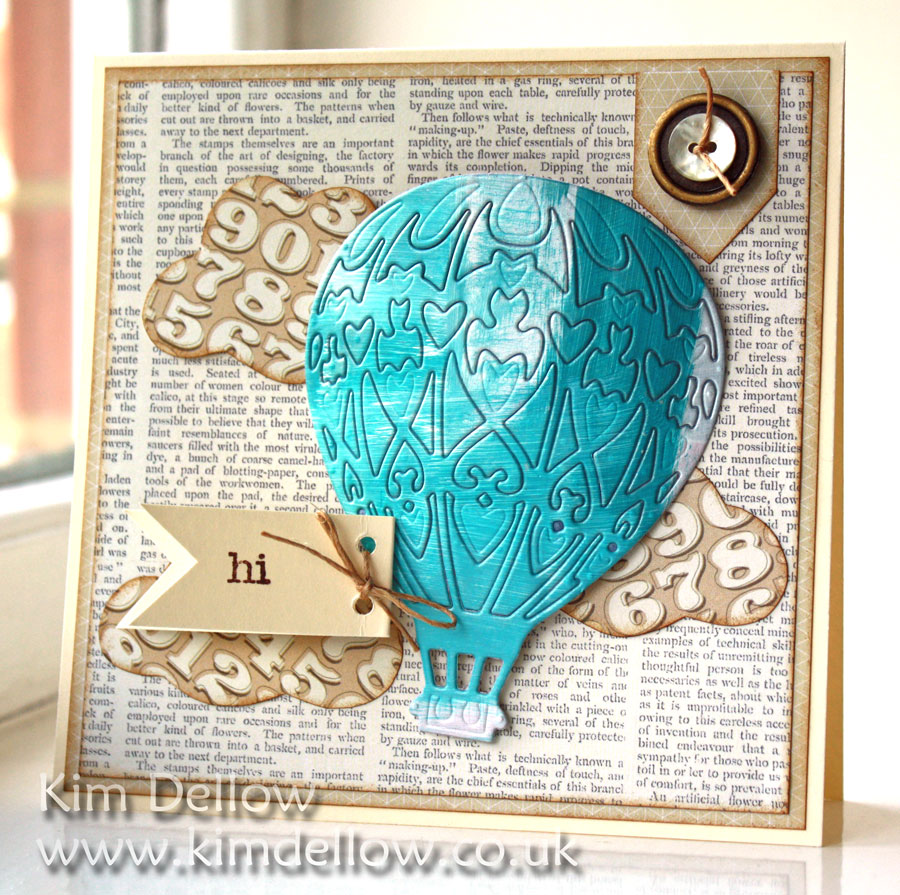
you might also have spotted all the balloon detail too? The die is beautifully intricate with a filigree-like look to it, but you can also use it and keep the balloon whole too.
Let me show you what I mean.

You Will Need:
Spare paper
Paint
Glue stick
Die-cutting machine
Brush
Brayer

This is a great way to use up all those spare pieces of paper we all collect, you know the free ones, or the junk mail etc. You can even use newspaper. Use lots of the glue stick to stick the papers together building up the layers to around 8 layers depending on the thickness of the paper. Use the brayer between each layer to make sure you have a good fix with the glue. Let the paper dry to a semi-stiff piece of 'card'.

Once the glue has dried paint the surfaces of the 'card' with acrylic paints and let it dry.

Everything is dry so now we can use the die and the Die-cutting machine. I've used a Cuttlebug and you might want to do a trial run to see what works best for your machine. My sandwich is: the Spacer A; a piece of 290gsm card; the Thin die adapter C; the Die; the 'card' to be cut; the Cutting pad B.

Run the cutting sandwich through your machine 3 or 4 times until you can start to see the cutting pattern on the back of the 'card' and the excess 'card' has been cut away. If you are using newspaper you will need to be careful at this stage as it tends to be a bit softer so you might not get a clear cut to remove the excess 'card'.

Carefully remove the Hot Air Balloon from the die, as you have made the 'card' from layers the details should remain in place but if any of the pieces stay in the die you can stick them back to the Hot Air Balloon. You also have the option to fully remove any of the pieces you want to too, like I did for the 'strings' to the basket.

Hope you have fun with your dies and don't forget to link up any of your La-La Land Crafts makes to the Customer Gallery.
Kim


This is fab Kim, will need to give it a go,
ReplyDeleteLiz x
Hi Kim, I love your tutorial, I shall give it a go! xxx
ReplyDeleteThank you for sharing this 'how to' - the effect is great.
ReplyDeleteToni xx