Showing posts with label Electronic Cutting Machine. Show all posts

Friday 16 May 2014

Monster Truck Craft Fun With The Cricut Explore

Hey gorgeous Friday craft fluff bundles I have a catch-up make for you today. Do you remember my Cricut Explore review from last week? Well here is one of the first cards I made with the Cricut Explore a few weeks ago. It is a card for a Monster Truck-crazy nephew.

[There are some affiliate links in this blog post, so if you buy through them I do get a small amount of money at no extra cost to yourself. Thanks for your support!]


I've actually sanded down the tyre inserts, but I'm not sure you can see that in the photos. It was a fun card to create and really quick too. The monster truck comes from the Father's Day cartridge which you can find if you search on the Cricut website or search for #M46FB8 if you are going through Cricut Design Space.


I'm planning to put together some tutorials and how to's for the Cricut Explore so watch this space and if you haven't seen my review yet then pop on over to my Cricut Explore Review blog post from 7th May

Catch you later.

Kim


Like this? You might also like: 

Cricut Explore reviewJournaling Cards With the Cricut ExploreDIY Stamps With the Cricut ExploreDIY Notebooks made with the Cricut Explore


Wednesday 7 May 2014

Cricut Explore - Electronic Cutting Machine Review

Say 'hello' to the newest electronic cutting machine on the market – the Cricut Explore. Launching on the UK Market this month this newest member of the Provo Craft die-cutting range boasts a total design reboot. 

I was lucky enough to get the full scoop at the April 2014 UK blogger launch event along with some other crafty and lifestyle bloggers and I thought I would share with you some of my initial thoughts and news about the new machine. 

The cricut Explore machine

I'm super-excited to share this with you, as you know I've been playing with a few of the different electronic cutting machine on the market so it is great to be in a position to compare and contrast and share the results with you guys.

Well from first look I was impressed. You can tell from when you open the box that a lot of care has gone into making the Cricut Explore an easy, take from the box and start cutting experience. There is very little set up and it is very intuitive so you don't have lots of manuals to read or videos you have to watch to be able to set up and get cutting straight away.

Summer project inspiration from the Cricut team

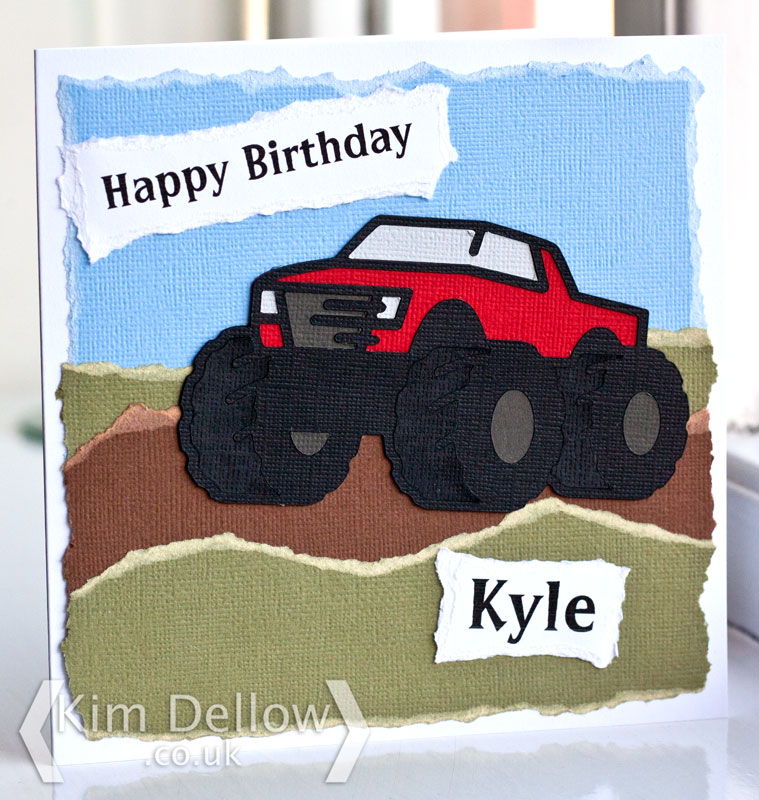
From the blogger event in April (where all the gorgeous inspirational projects you can see here and made by Suzie Candlin were from) you could tell that they are aiming this machine towards contemporary crafters who are interested in home decor and items for friends and family.

When you download the Cricut Design Space software this becomes obvious again as there are many canvas options from baby grows to foot wear and lots in between available to help you create. But of course their Papercrafter audience are catered to as well, with card blanks and Scrapbook layouts and the like.

Wedding project inspiration from the Cricut team

The machine itself is beautifully designed with a smooth one-touch open, a covered slot for your Cricut cartridges if you have them, places to store tools and spare blades and even a carry bag to house it in. But most impressive of all is the simple dial system or 'Cut Smart Technology' for setting the material type you want to cut. 

So no more setting the depth of the blade or even worrying about the speed as the software and machine do this all for you, all you have to do is turn the dial on the machine to the material you are cutting. Apparently it can cut to a thickness of 1 mm or 2 mm if it is a less dense material.

Close up of the Cricut Explore material dial

The guys from Cricut were very proud of the fact that a lot of research and development has gone into this machine including talking to crafters about what they want from an electronic cutting machine, which sounds great for us! 

So far I've only cut card and paper but when I have time I shall do some experimenting for you with different materials. I've got a ton of projects I want to do and when (if) we eventually move house, I will be running the machine to its limits I can tell you, every room will have something Cricut Explored!

All the materials the cricut can cut

Another thing that I love about this machine is that it has two clamps, one for your cutting blade and one for your pen or scoring tool! How cool? So you can do both in one pass and without having to take out the blade to put a pen in. 

Close-up of the Cricut Explore Pen and knife holder

So yes, I am loving the Cricut Explore machine, however, I'm a little disappointed that they haven't done more to the software. I am not a big fan of the previous Cricut software Cricut Craftroom and apart from a few things the new software Cricut Design Space isn't much of an improvement. 

But let's look at the positives of the Cricut Design Space first. The biggest update to the software is that you can now use your own designs to make cutting files - what? WHAT? I know! Cool! I love making my own cutting files and now you can upload an image as a JPG, GIF, PNG or BMP file and convert it to a cutting file or you can upload any of the SVG or DXF  files you have. Wahoo! Very, very happy about that!

Cricut Design Space Software first page

The other nice thing about Cricut Design Space is that they have bought it up to date with an easy to navigate, cleaner look. Finally another great improvement is that you can now write or cut any of the typefaces you already have loaded on your computer, before you could only use the alphas that they offered you and you had to own them to be able to cut them.

Cricut Design Space Software workspace page

But some of the down points. First of all I find the software too simple and get annoyed that you can't draw items in it, any shape you want to use you have to insert, which also means you either have to own it to cut it or it is one that you have uploaded yourself and converted to a cutting file. I haven't found a way to change the sizes to cm instead of inches and there are no alignment tools to get you shapes in the right place.

The new software is all online, like the previous version, but this time it works in your browser rather than a stand-alone window. This means that when you get updates you have to close the browser down to install it and I have actually had to reboot my computer to install the update *SIGH* computers! Also if your browser crashes so does what you are working on. Annoyed? You will be!

Cricut Design Space Software canvas page

It also means - and this is a big one - you can not design offline, you can't access your designs if you are offline, you can not use the cutting machine if you are offline.

Ok, so some of these things I can work around and probably most users won't even notice but it is a shame that you can not do any offline designing or store your designs on your own computer. I mean everyone is always online, right?

Project inspiration from the Cricut team

But putting those things aside I am really excited about the Cricut Explore and the fact I can now use my own designs to cut, that makes up for the stuff I don't like about the software.

I'm hoping to share some more things with you over the next few weeks as I learn more about it and I would love to hear your views on it as well.


So here is some technical stuff if you are interested:
Size: 56.4 cm W x 15.2 cm H x 12.7 cm D (22.2" W x 6" H x 7" D)
Weight: 4.94 kg (10.9 lbs)
RRP: £249.99
You can buy designs individually starting at 79p (over 50,000 in the library). Or get a one month subscription at £7.99 or a one year subscription £79.99 for access to the Cricut-branded designs which account for over 25,000 designs in the library. 


What you get in the box:
Cricut Explore Cutting Machine
Cricut Marker – Metallic Silver
Cricut Blade and housing
StandardGrip 12” by 12” cutting matt
Link address to the free Cricut Design Space software with 50 free projects
Quick setup guide
Sample materials to cut including cardstock, iron-on, vinyl and two Duck Tape sheets 
Carry bag
USB cable
Power cable

I don't know why I like that kind of information, it is probably the scientist in me. The machine is available from Amazon.


Catch you later Cutinators.

Kim

Kim Dellow Blog post signature

[Disclaimer time: I did get a machine to play with and access to cutting files but as always my views are as unbiased as I can make them. I also have some affiliated links in this post which mean that if you click through and decide to buy I get a percentage of the sale. But it all goes to helping me run my blog as this is my full time job and I don't endorse things I don't use myself.]


Like this? You Might also like:

Journaling Cards With the Cricut ExploreDIY Stamps With the Cricut ExploreDIY Notebooks made with the Cricut Explore

Sunday 15 September 2013

Silhouette Cameo September Inspiration - All About The Chevrons Part 2

Welcome to the second instalment to my chevron-inspired series of Silhouette Cameo tutorials.


If you remember last week I designed some chevrons in the Silhouette Studio, this week I thought we could do something with the chevrons, so how about some stamp making?

I'm really excited to see that the stamp-making material to use with your Silhouette Cutting Machines has reached these shores. Making stamps with the Silhouette Cameo has been on my wish list for a while. I haven't managed to get my hands on one of the Silhouette Stamping making kits yet but as I love carving my own stamps I thought I would use my chevrons from last week to make some hand-carved stamps.

[There are some affiliate links in this blog post, so if you buy through them I do get a small amount of money at no extra cost to yourself. Thanks for your support!]


So to pick up from where we left off. If you remember we had designed a small row of chevrons, select all of them and duplicate them. 


Move the new chevrons to the right-hand side and re-select all of the chevrons, then align the tops with the Align Tool.


Now use the Rectangle Tool to draw a large rectangle around the chevrons and cut.


I've cut my shapes from 250gsm card to make a template for my hand carving.


Stick it onto the stamp carving block with some masking tape or Scotch tape and carefully start carving using the template to guide the knife.


You will need a delicate hand for some of the thinner shapes but patience and a steady hand will win out! Trim the stamp and ink it up to test it on paper and then remove any bits that you don't want showing.


So there you are: a hand-carved chevron stamp to use again and again made with your Silhouette Studio and Silhouette cutting machine.


Join me next week for some more Silhouette and Chevron fun.

Kim


Related Articles:

Sunday 8 September 2013

Silhouette Cameo September Inspiration - All About The Chevrons

Is the chevron trend over? I certainly hope not 'coz I am still obsessed with them, so much so that I thought I would share some of my chevron love with you guys in this series of tutorials and inspiration using the the Silhouette Cameo over the next few weeks.


So who is up for some chevron designing? 

Yeah! Let's do this! Eyes down for Part One in my Silhouette Cameo September Chevrons Series:

Now these aren't going to be the most perfectly geometrical chevrons you have seen, I wanted some chevrons with a bit of personality.

[There are some affiliate links in this blog post, so if you buy through them I do get a small amount of money at no extra cost to yourself. Thanks for your support!]


The first thing I like to do is to change the size of my mat to the size of my project, which for this is 6 by 6 inch. But you don't have to if you are happy working in the default size. 

Then use the Draw A Polygon Tool to draw your first chevron shape.


Next, click the Edit Points Tool and change the shape if you need to. I straightened my top line just a smidgen.


Then select and duplicate the shape either via the Edit drop down or with the ctrl-D shortcut and align the top edges and move the duplicate shape to the right of the original shape.


You can use the Edit Points Tool again to change the lines of the shapes if you need to then move the duplicate shape away from the first one.


You can keep duplicating and reshaping to your heart's content.


And there you have some chevrons. 

Come back next week for Part Two in my Silhouette Cameo September Chevrons Series.

Catch you later.

Kim


Related Articles:

Tuesday 25 June 2013

Making Hearts In Silhouette Studio

I have a tutorial for you today, one in my Electronic Cutting Machine series sharing some things that I've leant using the Silhouette Cameo.


One of the best things about the Silhouette machines is that you get so much flexibility and creative freedom even with the free basic Silhouette Studio software. I know you can buy lots of lovely hearts in the online Silhouette shop but I do like a bit of making things for myself!

[There are some affiliate links in this blog post, so if you buy through them I do get a small amount of money at no extra cost to yourself. Thanks for your support!]


So if you do too how about trying this...

(If you are having problems seeing the pictures then try opening them up in a new tab in your browser.)

To start you need to draw an ellipse, I've made my workspace mat the same size as my card blank to give me an idea of the size I want the heart to be.


Then copy and paste the ellipse and select both ellipses and use the align tool and align centre to line up the two shapes. I then deselected the left-hand ellipse and moved the right one a smidgen (technical term) to the right.


The next step is to slightly rotate each ellipse, the left one to the left and right to the right then select both of them and weld them into one shape.


You can see the heart starting to take shape. Now you need to select the Edit Points tool and start to move the points until you are happy with the shape.


 I started with the bottom point of the heart, I moved the points then smoothed the line using the path nodes (the grey points that appear either side of the main point when you select it).


I then change any of the other points on the heart and the line paths until I like the look of the heart.


There you have it, a heart, ready to cut in Silhouette Studio. There are different ways to draw hearts, you could try drawing one freehand with the Draw Freehand tool or you could use the method above but use a circle as your starting shape instead of two ellipses. So have fun, play around and see what you can come up with!


Catch you later.

Kim